
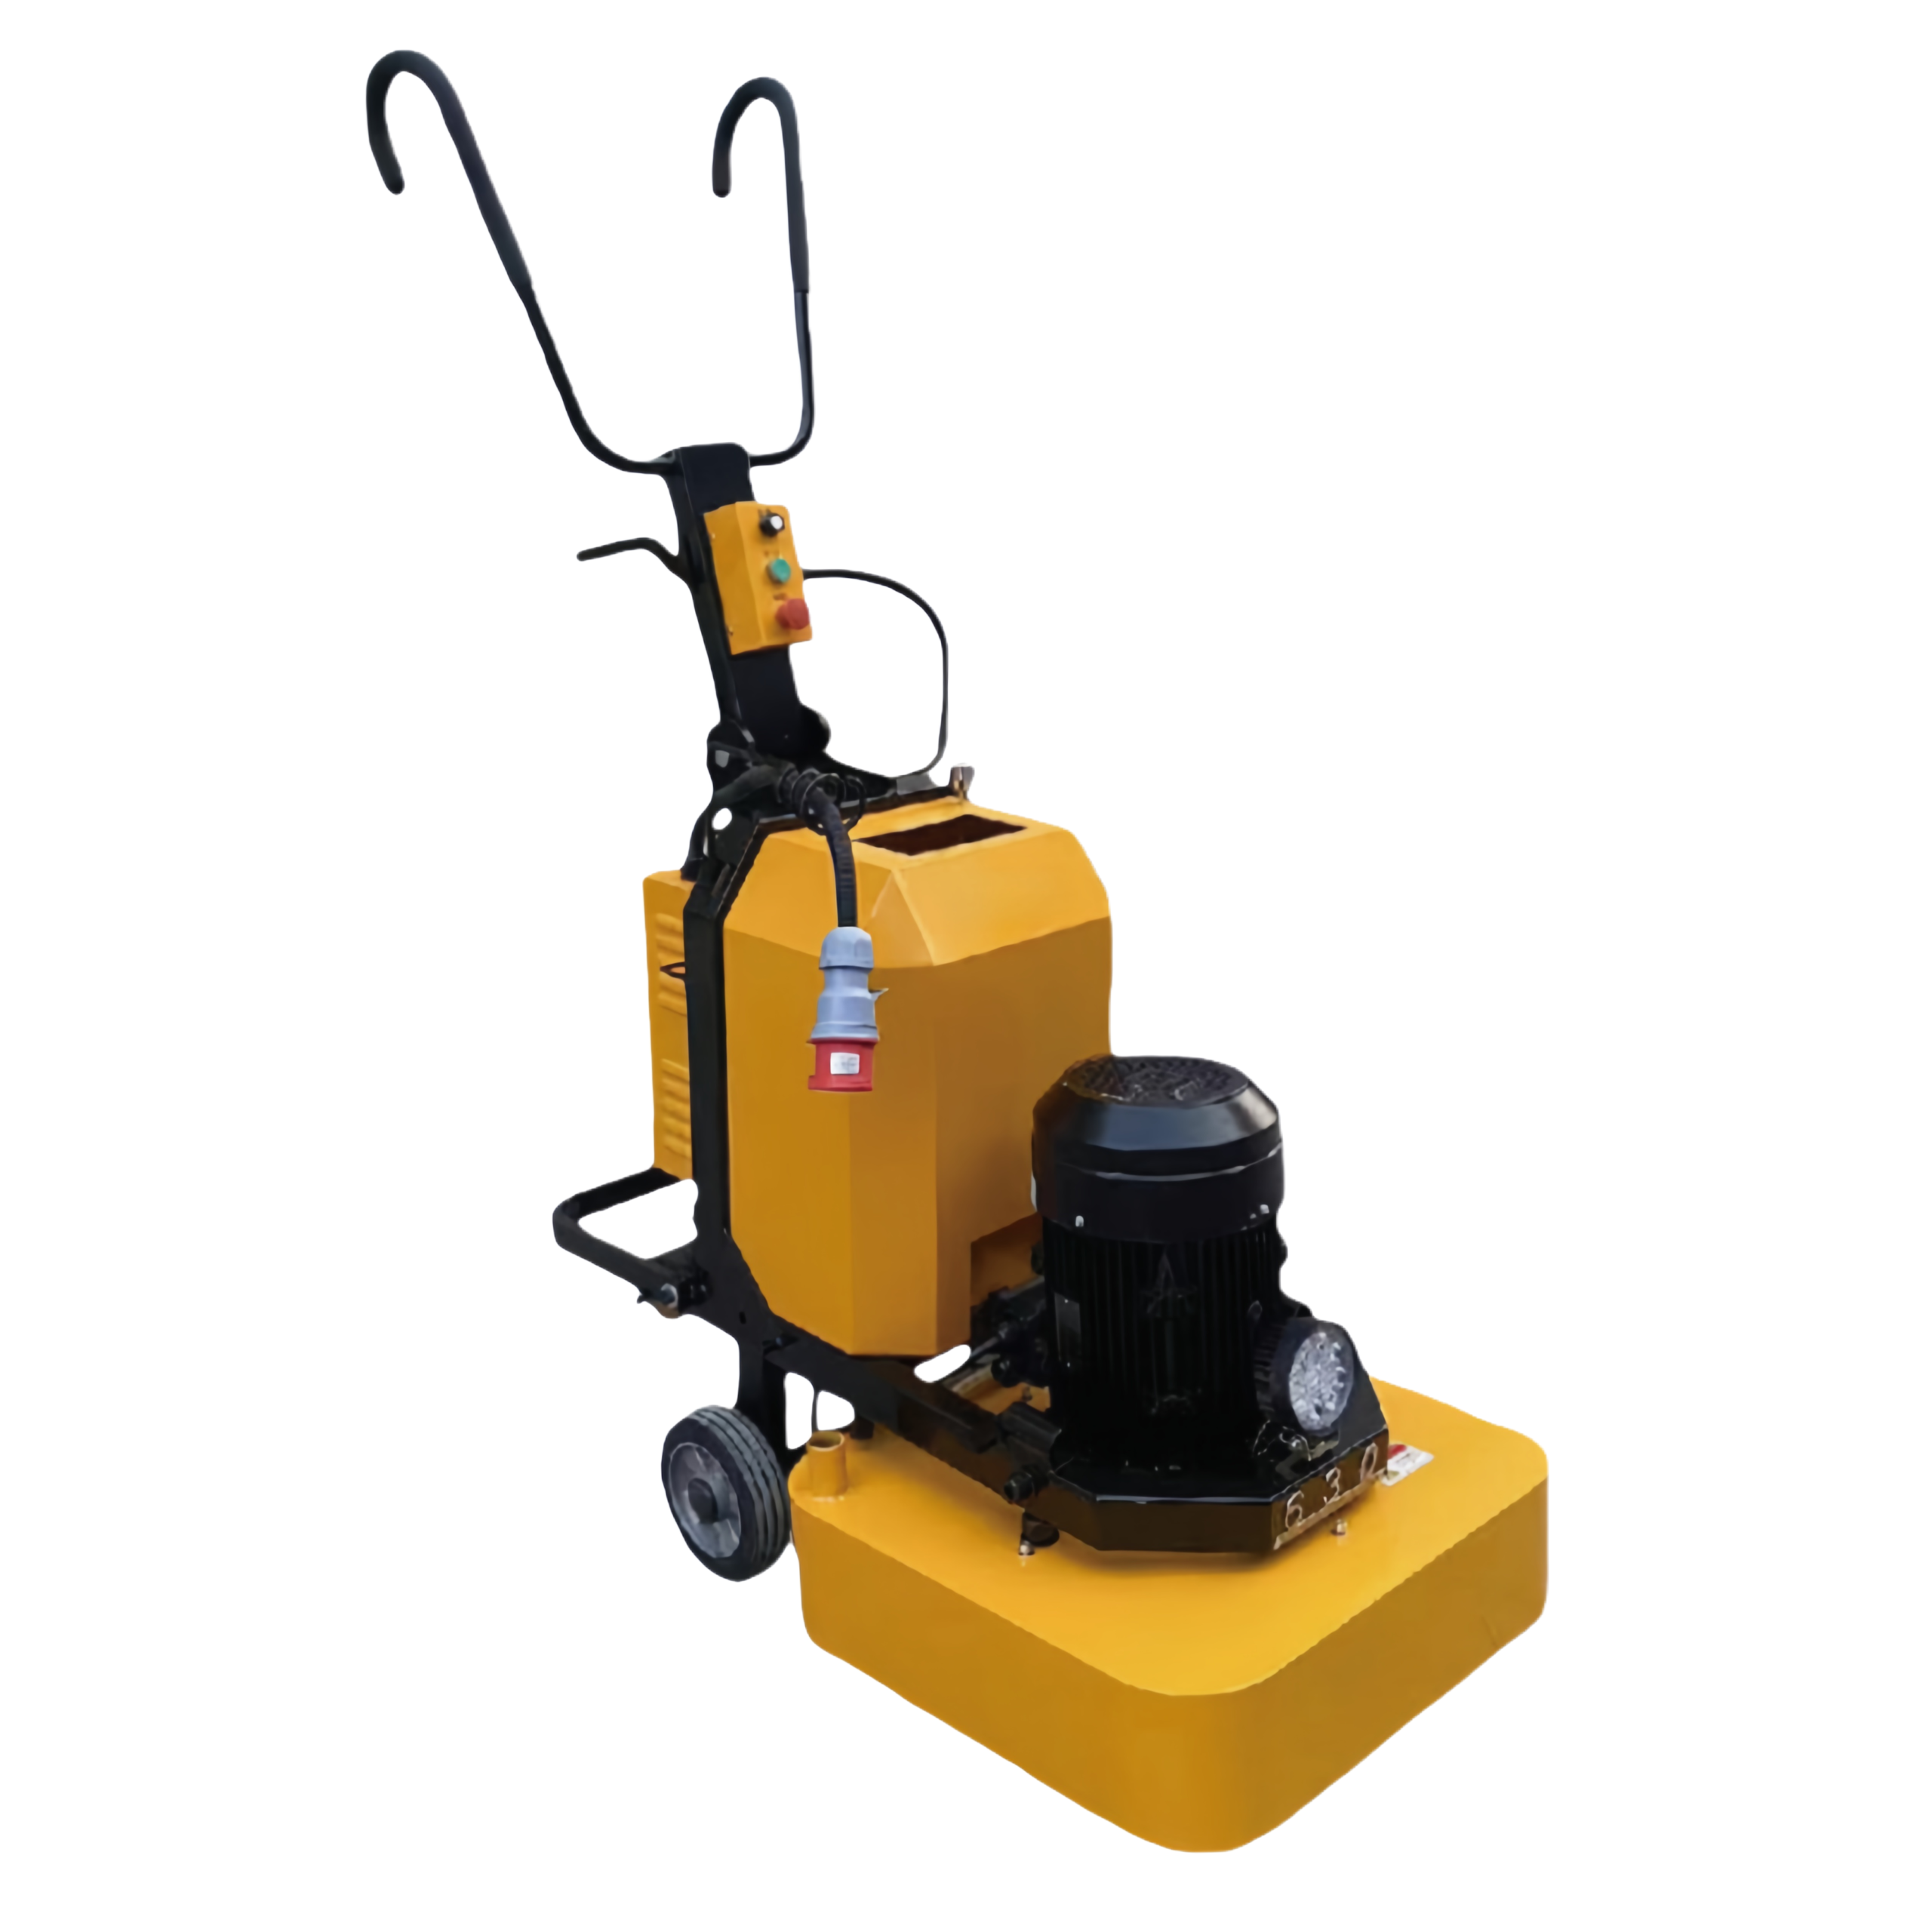
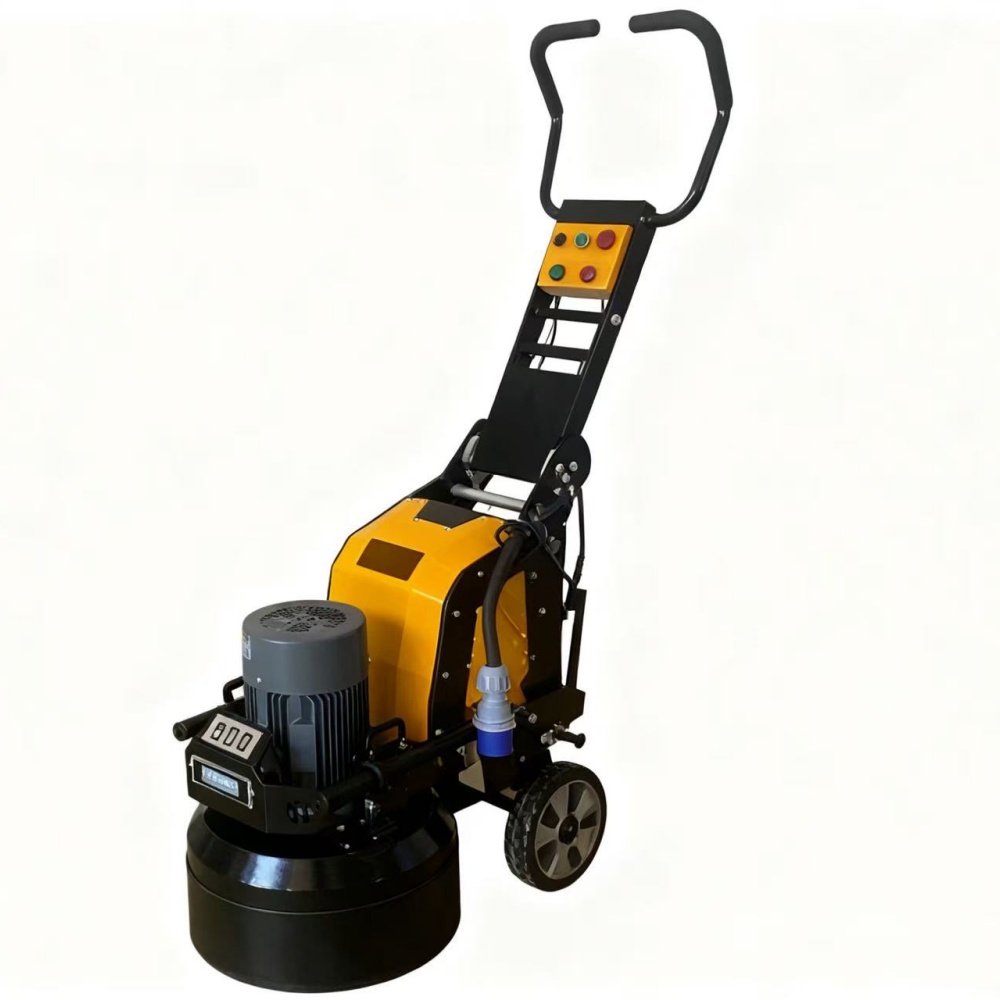
In floor construction projects, grinders are essential equipment for improving surface flatness and aesthetics. Whether you’re working on concrete leveling, stone polishing, or coating removal, following standardized operating procedures not only ensures construction quality but also significantly reduces labor costs and improves overall efficiency. This blog provides a comprehensive breakdown of how to use a floor grinder correctly, covering preparation, operation steps, safety protocols, and troubleshooting, to help construction professionals work more efficiently.

- Before Use: Three Key Preparations to Ensure Safety
1.1 Essential Equipment Checks
Before starting the machine, conduct a thorough inspection: ensure the grinding disc and segments are securely installed, with the thread direction matching the rotation direction to prevent detachment; replace severely worn segments in a timely manner. Check that transmission components (belts, gears) are properly tensioned, and that bearings and other rotating parts are well-lubricated and free of jamming or abnormal noise. For electric models, confirm the power cord is intact and the ground protection is effective. For fuel-powered models, check that there is sufficient fuel and no leaks. Run the machine idle for 2–3 seconds to test speed adjustment, start/stop functions, and ensure stable operation.
1.2 Site and Material Preparation
Clear the work area of debris, stones, and oil stains, and remove obstacles to ensure adequate operating space. Plan ahead based on the floor material: for concrete, select the appropriate grinding tools according to hardness (use S-grade tools for soft concrete and XX-grade tools for extremely hard concrete). High-moisture materials should be dried in advance (30 minutes in a 60°C oven) or diluted with diatomaceous earth to avoid clogging the feed port. For coating removal, choose specialized tools based on coating thickness and, if necessary, use a dust extractor to reduce airborne dust.
1.3 Personal Protective Equipment (PPE)
Operators must wear full PPE: safety goggles to prevent flying debris from entering the eyes, a dust mask to block grinding dust, earplugs to reduce noise exposure, anti-slip gloves and shoes for safe handling, and long hair should be tied back. Cuffs and pant legs should be fastened to avoid entanglement with moving parts.
- During Operation: Precise Control for Optimal Grinding Results
2.1 Parameter Settings
Adjust machine parameters based on construction requirements: for rough grinding and leveling, use metal segments below 30 grit and set the machine to low speed. For fine grinding and polishing, use resin pads above 60 grit and set to high speed. When grinding sensitive materials such as marble or terrazzo, apply a self-leveling compound to protect edges. Dry grinding and wet grinding processes must be strictly separated—dry grinding progresses from 25-grit metal segments up to 3000-grit resin pads, while wet grinding requires specialized transition pads and polishing pads. Adjust the machine height to ensure even contact between the grinding tools and the floor for balanced pressure.
2.2 Practical Operating Techniques
After starting the machine, grip the handles firmly and push forward at a steady speed of 0.5–1 meter per second, avoiding sudden stops or sharp turns. Overlap each pass by 1/3 to prevent missed areas and groove formation. For floors with large height differences, process in layers from rough to fine grinding instead of applying excessive pressure at once. Use a small handheld grinder for edges and corners. If steel bars or hard protrusions are encountered, stop immediately to remove them and prevent damage to the grinding tools. Monitor the machine closely during operation—tool wear should not exceed 1mm within 30 minutes. If abnormal noise or increased vibration occurs, stop the machine immediately for inspection.
2.3 Safety Rules
Never touch the grinding tools or adjust components while the machine is running, and maintain a safe distance from moving parts. Never insert hands into feed or discharge ports. Large equipment should not be operated by a single person; for multi-person teams, establish clear communication signals. Avoid using electric models in wet environments and keep fuel-powered models away from open flames. During extended use, stop the machine every 30 minutes to cool down and prevent motor overheating.
- After Use: Maintenance to Extend Equipment Life
3.1 Proper Shutdown and Cleaning
Stop feeding material first, allow the machine to run idle to clear remaining material, then turn it off and disconnect the power or remove the battery. Clean dust from the machine surface and tool gaps with a brush or compressed air, and wipe stubborn stains with a damp cloth (avoid water entering the motor). Residual material in the grinding chamber can be soaked and cleaned with ethanol or acetone to prevent cross-contamination.
3.2 Regular Maintenance
Check segment wear and replace when thickness is reduced to 1/3. Apply high-temperature grease to bearings and gears monthly and replace aging seals. Conduct an annual overhaul to inspect wear on grinding components, calibrate speed and weight accuracy, and fully test motor and inverter performance. For long-term storage, keep the machine in a dry, ventilated area to prevent rust on grinding tools or aging of rubber parts.
3.3 Common Troubleshooting
If grinding efficiency decreases, it may be due to excessive gap between components (should be ≤2mm) or overloading. Replace worn parts and control feed volume to 50%-70% of capacity. If the motor fails to start, check for power issues or mechanical jamming, then manually rotate the drive shaft to clear blockages. Powder leakage is often caused by aging seals—replace with chemical-resistant silicone or fluororubber gaskets.